Laser cutting is a manufacturing process where a high-powered laser beam is used to cut materials such as metal, wood, plastic, and glass with precision and accuracy. The laser beam melts, burns, or vaporizes the material along a predetermined path, resulting in clean and precise cuts. Laser cutting works by directing a high-powered laser beam through a focusing lens onto the material to be cut. The intense heat of the laser beam melts, burns, or vaporizes the material, creating a precise cut along a predetermined path. The focused beam is controlled by computer numerical control (CNC) systems, allowing for highly accurate and intricate cuts. Laser cutting is widely used in various industries for its versatility, speed, and ability to cut a wide range of materials with minimal distortion or damage.
Biomaterials
Biomaterials made from substances like gelatin, agar agar, and other biopolymers are used as alternatives to traditional plastics. These biomaterials are biodegradable, renewable, and often derived from natural sources like plants or animals. They can be used in various applications such as packaging, food containers, and biomedical devices. These materials offer the advantage of being environmentally friendly, reducing the reliance on non-renewable resources, and minimizing pollution from plastic waste.
Exploring with biomaterials
Our initial focus was on delving into the diverse realm of biomaterials and assessing their integrity. Beginning with a small-scale experiment, we crafted a variety of samples using gelatin as our foundational material. With the aim of achieving a rigid consistency akin to plastic, we meticulously conducted tests to refine our approach. Eventually, we successfully identified one sample that met our criteria. However, transitioning to a larger production scale presented unforeseen challenges.


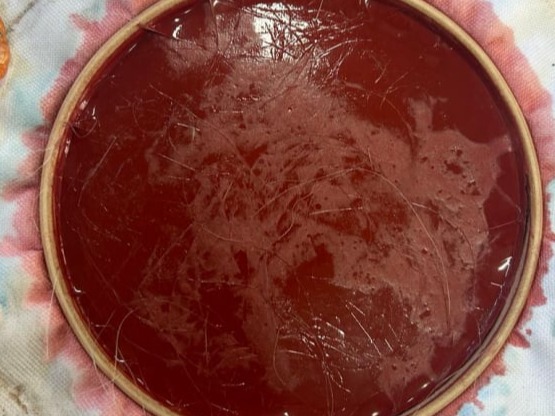
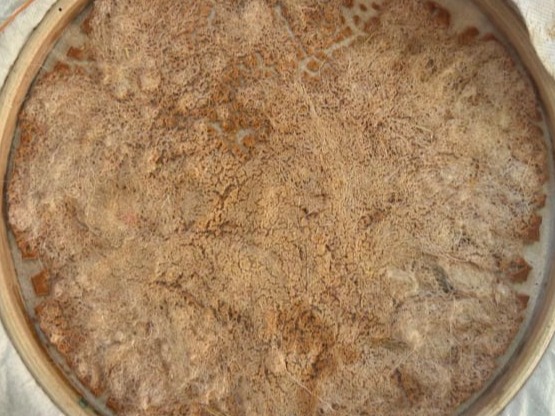
We created sample batches to see which material would be the most rigid to then eventually laser cut. Sample one was created with agar agar and wool while sample two was created with gelatin and animal hair. Upon the drying process, we realised that gelatin was the perfect option for us. The batch with wool hair and agar agar was not rigid enough as we put large amounts and the sheep hair absorbed the liquid entirely.
Once we realised that gelatin sample worked perfectly, we created a large sample with confidence with hopes of laser cutting it to perfection. However, the lack of glycerol in such a large batch caused it to bend, crack and lift up from the mold. So then, upon learning from our mistake, we created another large batch with some oil and glycerol so it won't bend and break. Everything was perfect to it as it dried halfway to perfection and as our confidence boosted, we made the mistake of covering up the sample over the weekend which caused a MASSIVE mold to grow on it and we then had to throw the entire batch of it away. Is it really a project if everything goes according to plan?
Recipe -
- Water 240ml
- Gelatin 48 g
- Glycerol 0 g - for a rigid effect
- Wool - to ensure it stays together
- Few drops of oil
Steps:
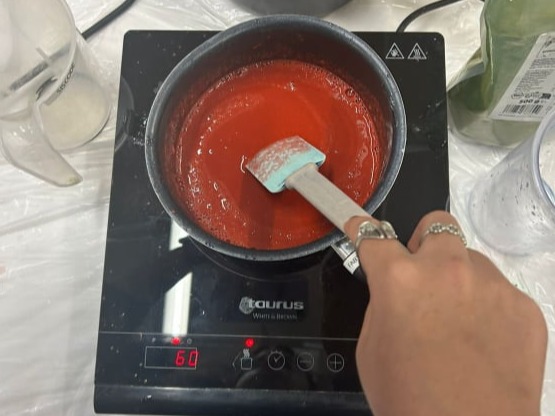
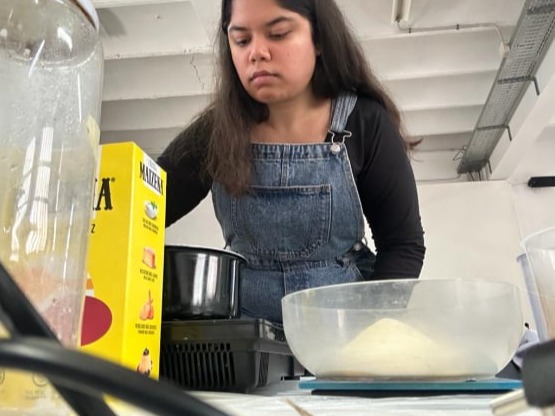
1. Heat water on stove and add powdered gelatin.
2. Do not let the mixture come to bubbling.
3. Lay wool on your mold, your mold should be acrylic or hard plastic when using gelatin.
4. Allow mixture to cool slightly and then pour into mold.
5. Let dry for around 2 days at room temperature.
6. Don't cry when there is mold all over your batch.
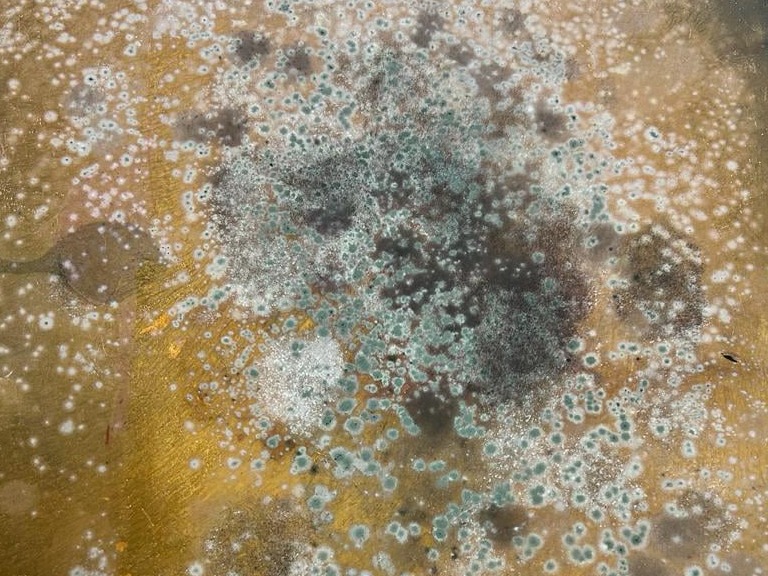
The saddest day of my life
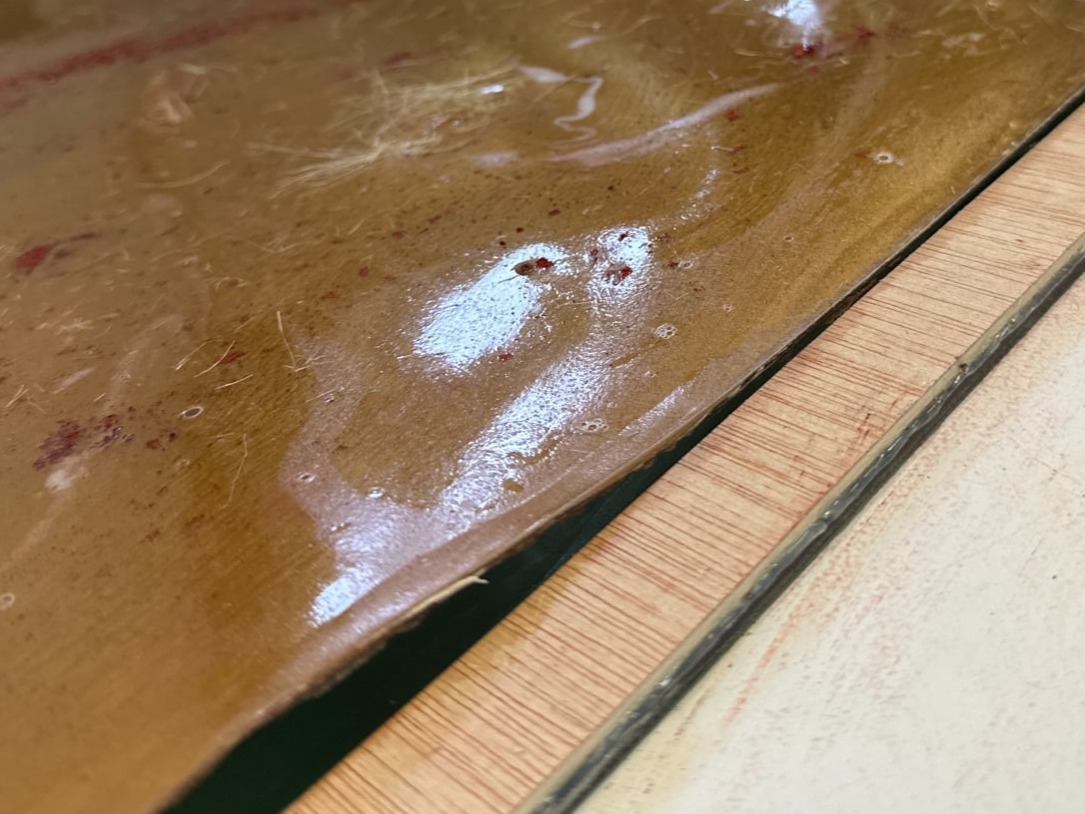
Failure One
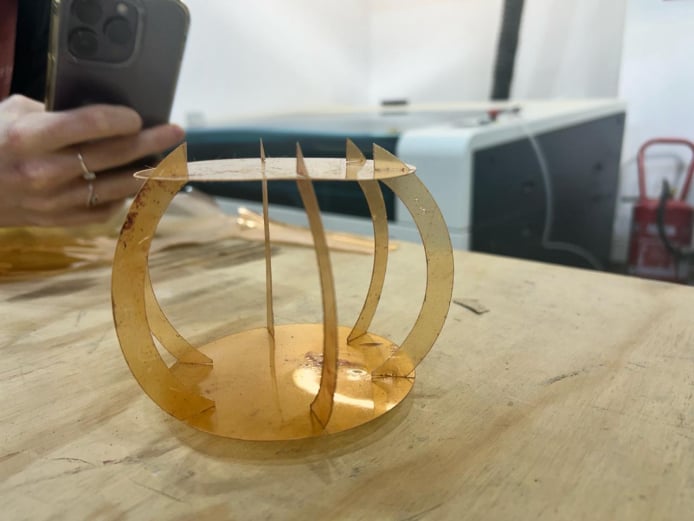
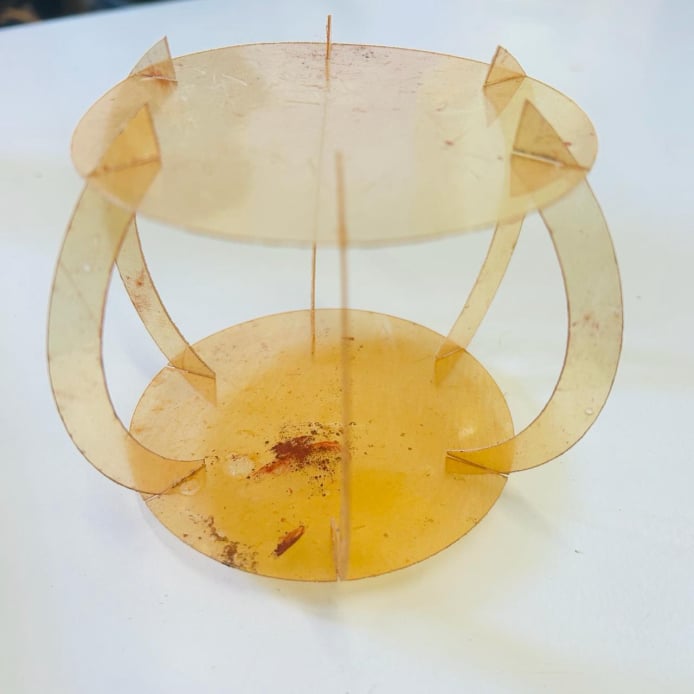
We then used the best flattened parts of the initial large sample due to the time constraint and we did not want to waste more material to create more batches. We scaled down our grasshopper file so to fit the design on the limited material. Through these experiments, we gained valuable insights. However, encountering repeated setbacks led us to pivot, returning to the initial large batch of material. Opting to work with familiarity, we segmented it into smaller pieces, facilitating the laser cutting of a scaled-down version of our model. The resulting prototype, depicted to the right, marked the culmination of our efforts. Subsequently, we meticulously employed press fits to assemble the components, a process detailed below.
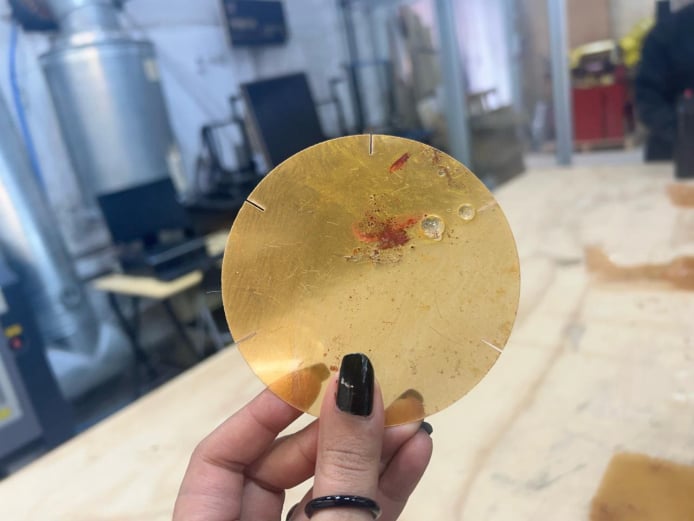
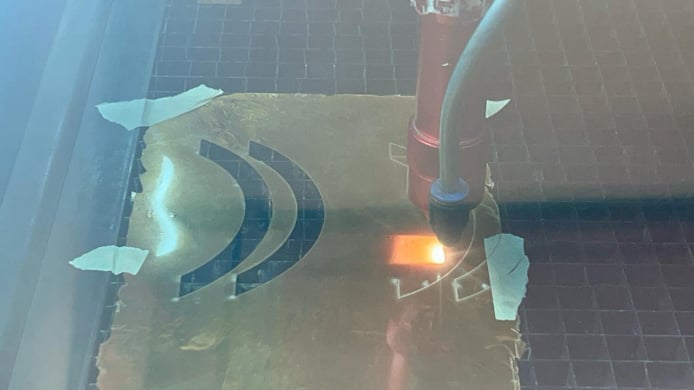
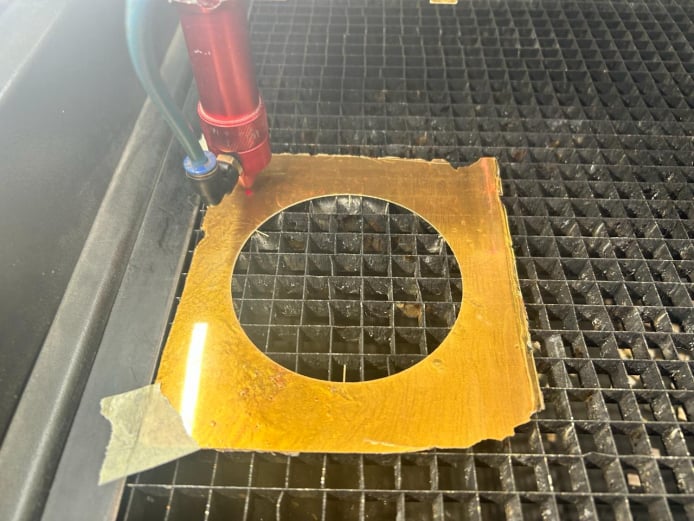
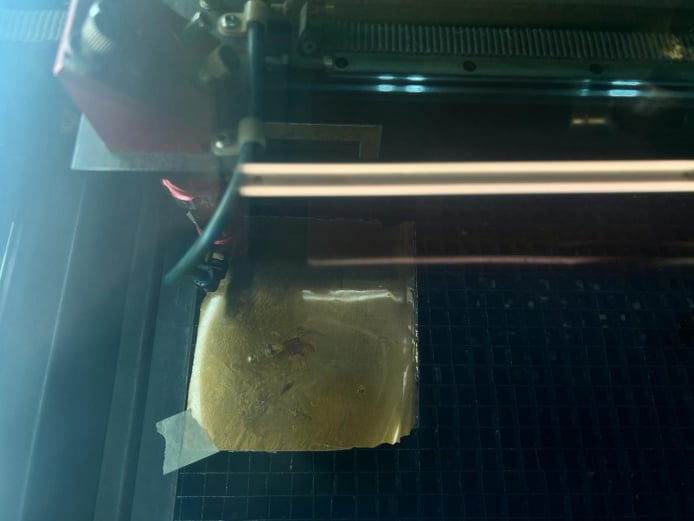
We laser cut the biomaterial to create a lamp using the press fit technique. I thought laser cutting would be the complicated process but it went quite smoothly. Thank god. Although we had to scale down the product, it came out perfect and adorable. Below you can see the images of our baby.
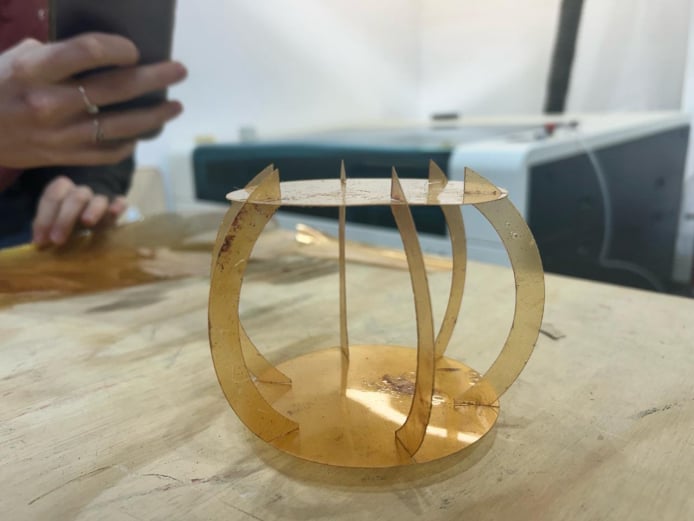
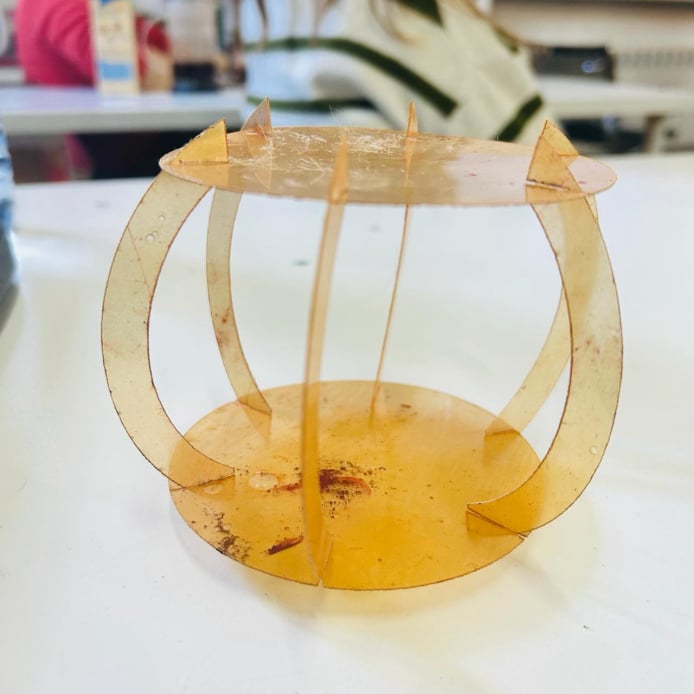
Participating in this seminar was initially a step into the unknown for me, but the journey over the past weeks has been enlightening. While my attention wasn't solely fixed on the final project for this particular module, I thoroughly enjoyed immersing myself in diverse themes that have long intrigued me. Exploring the potential applications of biomaterials in everyday objects and delving into the concept of shared knowledge for local production were particularly captivating avenues of exploration.
Reflecting on our collaborative efforts with Manuja, it's clear that we encountered our fair share of challenges. Opting to create a sturdy structure that could stand on its own presented us with the daunting task of fine-tuning the composition of our biomaterial. Balancing the right proportions of glycerin and oil to prevent cracking and deformation tested our problem-solving skills. Despite the hurdles, I remained drawn to the idea of empowering individuals to utilize commonplace kitchen items to craft innovative products for household use, hence my focus on designing a lamp.
Driven by the vision of enabling multiple users to benefit from our work, I was keen on maintaining a user-friendly repository and crafting parametric designs that could be tailored to individual preferences. This endeavor introduced me to a steep learning curve, navigating the intricacies of parametric design with software like Grasshopper. However, with perseverance and practice, I've gained a deeper understanding of its functionality, envisioning its potential application in future projects with adaptable designs tailored to varying contexts.
In retrospect, this inaugural module on digital prototyping served as a platform for personal exploration and a rekindling of my passion for certain thematic interests. Moreover, it was immensely gratifying to experiment with biomaterials and strive for precise outcomes compatible with laser cutting technology. Overall, the experience was not only educational but also infused with a sense of joy and discovery.
Mobirise.com